Building your own solar monitoring system transforms your renewable energy installation from a black box into a transparent, data-driven powerhouse. With real-time insights into energy production monitoring, power consumption patterns, and system performance metrics, you’ll maximize efficiency while catching issues before they impact your bottom line. Modern microcontrollers like ESP32 and Raspberry Pi make creating a comprehensive photovoltaic performance tracker both affordable and surprisingly straightforward.
Bright Beginnings: Your Solar Monitoring Made Simple
A DIY solar monitoring system provides continuous oversight of your solar installation’s health and productivity. Unlike basic inverter displays, a custom monitoring solution delivers granular data on DC power measurement, AC power measurement, and environmental factors affecting your panels’ output.

The core benefits include:
- Real-time detection of inverter faults, wiring issues, or shading problems
- Detailed energy production tracking for ROI validation
- Integration with smart home platforms like Home Assistant
- Historical data analysis through visualization tools like Grafana
- Remote monitoring capabilities via smartphone apps
Modern DIY systems can monitor both solar production and consumption, providing complete visibility into your energy ecosystem. This dual monitoring approach helps optimize consumption patterns and identifies the best times for high-energy activities.
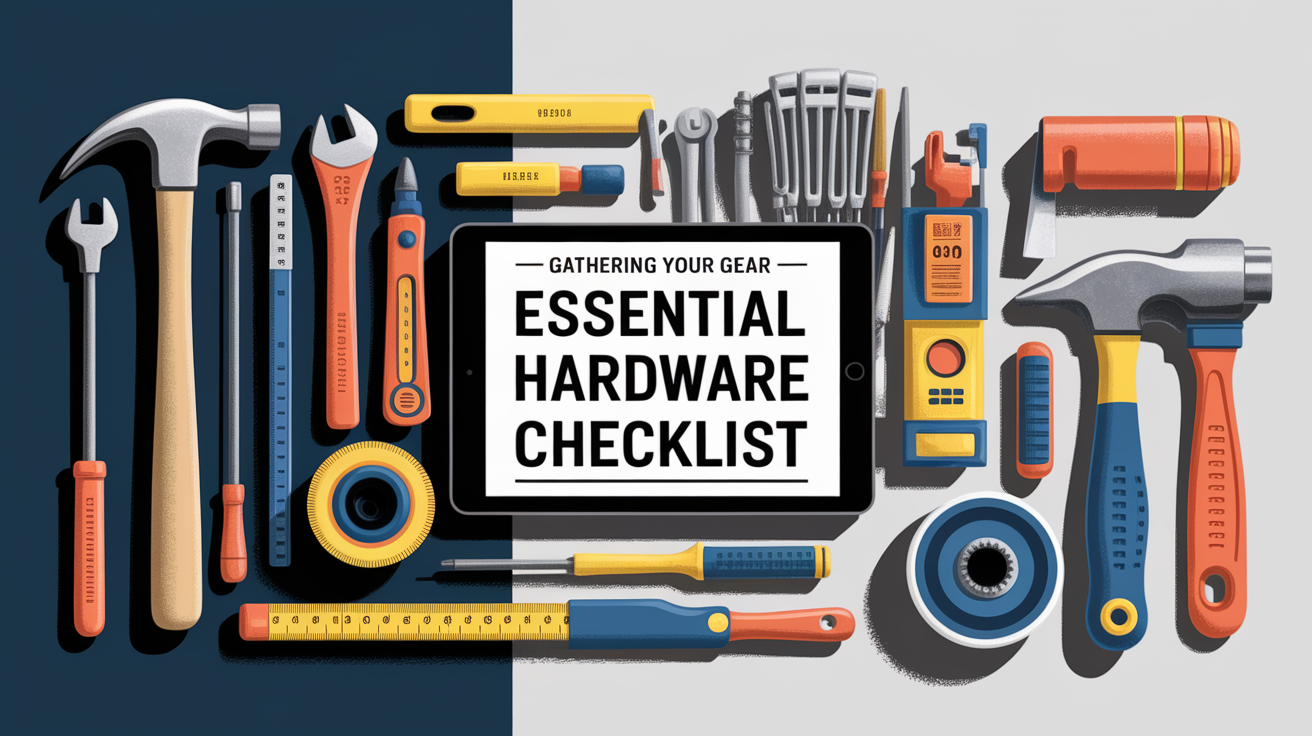
Gathering Your Gear: Essential Hardware Checklist
Your monitoring system’s accuracy depends on selecting appropriate sensors and processing hardware. Here’s what you’ll need for a comprehensive setup:
Microcontroller Options
- ESP32: Ideal for WiFi connectivity and multiple sensor inputs
- Arduino: Reliable for basic monitoring with simple programming
- Raspberry Pi: Perfect for complex data processing and local dashboards
- ESP8266: Cost-effective choice for basic wireless monitoring
Current and Voltage Sensing
Accurate electrical measurements require quality sensors. CT sensors (current transformers) measure AC current non-invasively, while voltage sensors like voltage divider circuits safely measure system voltages. The ACS712 current sensor offers precise DC current measurement for battery monitoring applications.
For comprehensive monitoring, you’ll need:
- Current sensors (ACS758 or similar) for power measurement
- Voltage sensing circuits with appropriate scaling
- Temperature sensors (DS18B20) for panel thermal monitoring
- Analog-to-digital converters (ADS1115) for precise measurements
Supporting Components
- Voltage regulators (XL7015) for stable power supply
- OLED displays for local data visualization
- Protective enclosures rated for outdoor installation
- Quality cables and weatherproof connectors
Wiring Up: Step-by-Step Installation
Proper installation ensures accurate data collection and system longevity. Start by documenting equipment serial numbers to create a reference map for troubleshooting.
Sensor Placement Strategy
Current sensors should be positioned to measure panel output accurately without interfering with system operation. For solar inverter monitoring, place CT sensors on the AC output lines. Temperature sensors must be attached directly to panels without creating shading.
Electrical Connections
Follow these critical steps:
- Power down your solar system completely before beginning work
- Install current sensors on designated measurement points
- Connect voltage sensing circuits with appropriate safety ratings
- Wire temperature sensors to panel backs using thermal adhesive
- Connect all sensors to your chosen microcontroller following the circuit diagram
- Install the microcontroller in a weatherproof enclosure
Ensure all connections are secure and properly insulated. Use marine-grade wire nuts or terminal blocks for outdoor connections.
Power Supply Considerations
Your monitoring system needs reliable power. Options include tapping into your solar system’s DC bus through a voltage regulator or using a small dedicated solar panel for complete independence.
Data Dashboard: Setting Up Your Software
Transform raw sensor data into actionable insights through proper software configuration. Modern open source energy monitor solutions offer professional-grade capabilities.
Data Collection and Storage
InfluxDB provides time-series data storage optimized for sensor data, while MQTT enables efficient data transmission between devices. This combination creates a robust foundation for your data logger functionality.
Popular software platforms include:
- Home Assistant: Comprehensive smart home integration with solar monitoring capabilities
- Node-RED: Visual programming for complex automation workflows
- Thingspeak: Cloud-based IoT platform for remote monitoring
- Emoncms: Open-source energy monitoring platform
Creating Your Data Visualization Dashboard
Grafana excels at creating professional dashboards from your collected data. Configure panels to display:
- Real-time power generation and consumption
- Daily, weekly, and monthly energy production trends
- System efficiency metrics and performance ratios
- Battery state of charge for off-grid solar systems
- Temperature correlations with power output
Smart Home Integration
Connect your solar monitor to Home Assistant for seamless integration with other smart home devices. This enables automated responses to solar production levels, such as starting energy-intensive appliances during peak generation periods.
Keeping It Accurate: Calibration and Maintenance
Regular calibration ensures your monitoring system provides reliable data for decision-making. Proper calibration procedures involve comparing sensor readings against known reference values.
Initial Calibration Process
- Use a calibrated multimeter to verify voltage sensor accuracy
- Compare current sensor readings with clamp meter measurements
- Adjust software scaling factors to match reference measurements
- Verify temperature sensor accuracy against a calibrated thermometer
Ongoing Maintenance Tasks
Monthly maintenance ensures continued accuracy:
- Clean sensor housings and check for corrosion
- Verify network connectivity and data transmission
- Review data trends for anomalies indicating sensor drift
- Update software and security patches regularly
Troubleshooting Common Issues
Address these frequent problems promptly:
- WiFi connectivity drops affecting ESP32 or ESP8266 units
- Sensor drift causing measurement inaccuracies
- Weather-related enclosure infiltration
- Power supply fluctuations affecting microcontroller stability
Radiant Wrap-Up: Maximizing Your Solar Insights
Your DIY solar monitoring system now provides comprehensive visibility into your renewable energy investment. Use this data to optimize energy consumption patterns, validate system performance, and identify maintenance needs before they impact production.
Key success factors include regular calibration, proactive maintenance, and leveraging your data for informed energy management decisions. With proper implementation, your monitoring system will pay for itself through improved efficiency and reduced downtime while providing the satisfaction of complete energy independence.